

A fast rig with the wrong screen position feels off within seconds. You turn in, your eyes hunt for the apex, and instead of reading the corner naturally, you are staring too high, too far away, or through bezels that break the illusion. A proper sim racing monitor stand setup fixes that. It sharpens immersion, improves comfort over long sessions, and helps your hardware perform like a complete system instead of a pile of expensive parts.
Why your monitor stand matters more than most upgrades
A lot of builders focus on wheelbase torque, pedal stiffness, or whether to go ultrawide versus triples. Those choices matter, but the stand holding your display is what makes the visual side of the rig believable and repeatable. If the screens wobble under force feedback, drift out of alignment, or sit at the wrong height, you lose confidence and consistency.
This is where serious sim hardware separates itself from basic gaming furniture. A purpose-built stand gives you controlled placement, rigid support, and the adjustability to match your cockpit geometry. That matters whether you are chasing lap time, building content, or trying to recreate the feeling of sitting in a real cockpit at home.
There is also a practical side. The right stand protects your investment. Monitors are not getting lighter at the sizes most sim racers want, and triple-screen setups multiply the load fast. A well-engineered frame reduces stress, keeps everything square, and gives you room to upgrade later instead of starting over.
Choosing the right sim racing monitor stand setup
The best configuration depends on your cockpit, display size, and how serious you want the experience to feel. There is no single perfect answer, but there is a clear difference between a setup that looks good in a product photo and one that works during long, hard sessions.
A single monitor setup is the simplest place to start. It is easier to align, easier on your PC, and often the best option for newer builders who want clean installation and a lower total footprint. If you run a larger ultrawide and bring it in close to the wheelbase, you can get strong immersion without the complexity of side panels.
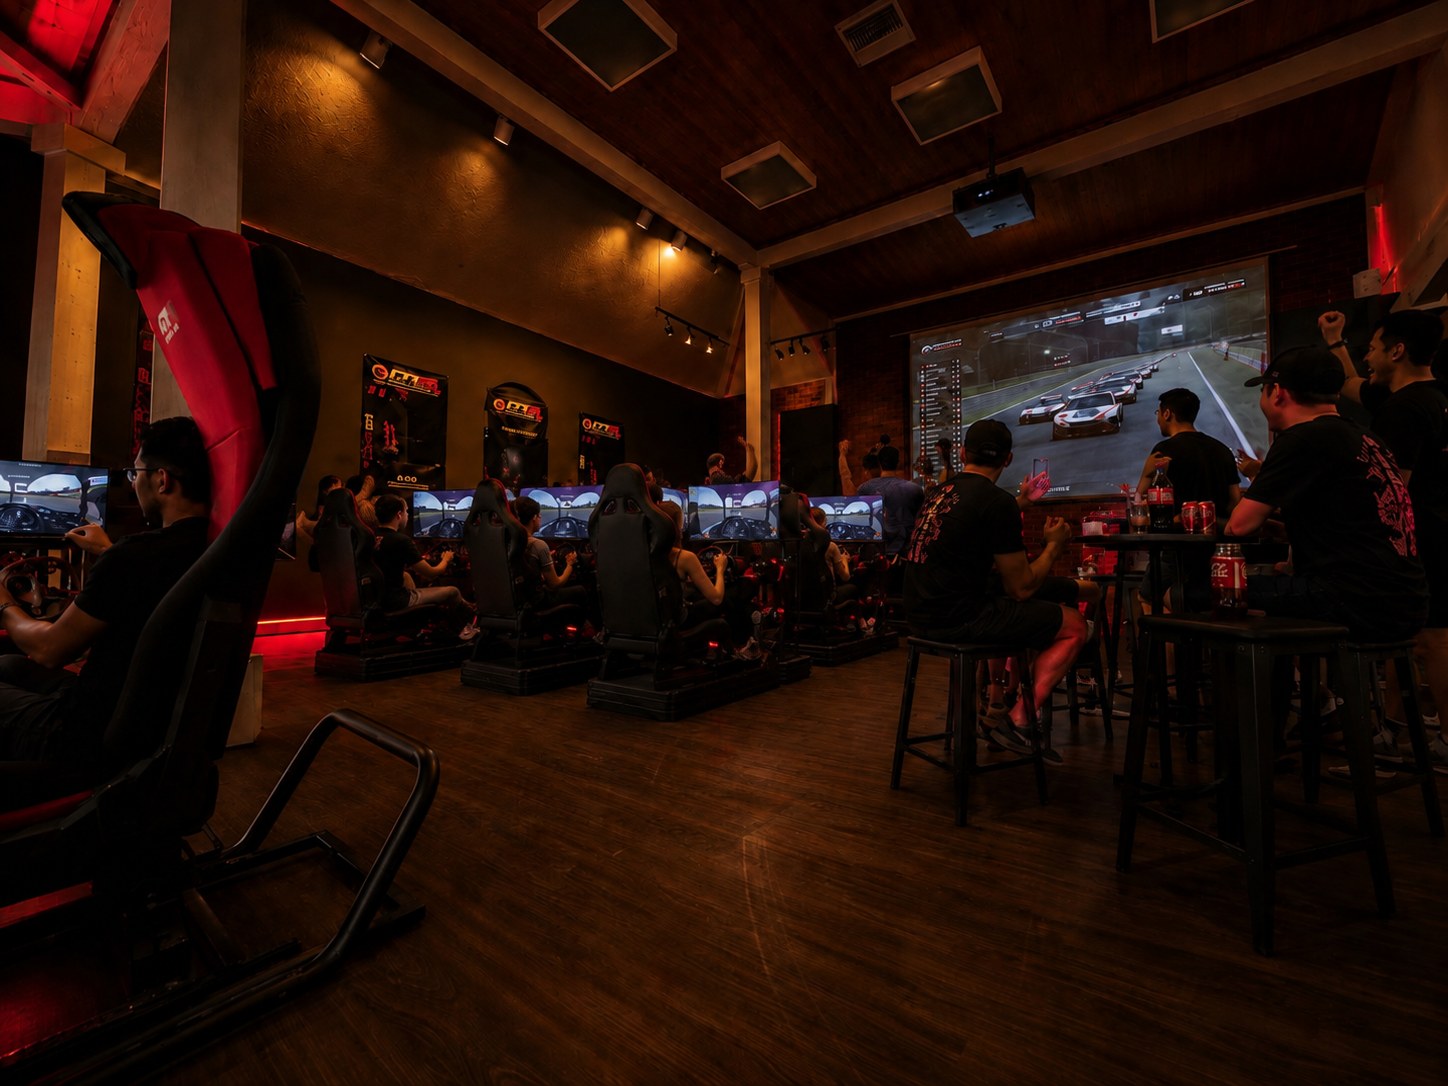
Triple monitors are the benchmark for drivers who want wider peripheral vision and better spatial awareness. You can read corner entry, track-out, mirrors, and nearby traffic with less guesswork. The trade-off is setup time. Triple screens demand more precision in mounting, angle matching, and cable management. If the stand lacks rigidity or fine adjustment, the whole experience becomes frustrating.
Integrated monitor mounts and freestanding stands both have their place. An integrated mount saves space and can look extremely clean, but it transfers more cockpit vibration to the displays. A freestanding stand usually gives you better isolation and more flexibility with position. For higher-torque direct drive systems, that extra separation often feels more refined.
Screen height, distance, and angle
This is where good hardware turns into great ergonomics. The center of your main display should generally sit near eye level when you are in your normal driving position. Too high and you feel like you are looking up through the windshield. Too low and the dashboard perspective gets strange and tiring.
Distance is just as important. Bring the screen close enough that the car feels full scale, but not so close that you create eye strain or interfere with your wheelbase, dash, or hand movement. Most builders are surprised by how much more immersive the rig feels when the monitor sits closer than a standard desk gaming setup. In sim racing, the display should feel like part of the cockpit, not something across the room.
If you run triples, the side monitors should wrap around your field of view with equal angles on both sides. Symmetry matters. Even a slight mismatch can make one side feel distorted and throw off visual cues. The goal is not just to make the setup look precise. It is to create a stable visual reference that your brain trusts lap after lap.
Stability is performance
A weak stand does not just look cheap. It actively takes away from realism. Under heavy braking, curb strikes, or aggressive force feedback, movement in the display structure reminds you that you are using a compromised setup. The best stands disappear because they stay planted.
Material quality, cross-bracing, and connection points all play a role. Strong aluminum profile systems and reinforced steel designs tend to offer the kind of rigidity serious users want, especially when supporting larger monitors or ultrawides. Fine adjustability is just as critical. You want secure locking points, but you also need enough tuning range to get alignment exact.
This is one area where spending more usually pays off. A premium stand gives you cleaner fitment, easier adjustment, and better long-term durability. If you plan to upgrade your cockpit, wheelbase, or displays later, a stronger platform keeps those options open instead of forcing another purchase.
Don’t ignore compatibility
A stand can be beautifully built and still be the wrong choice if it does not fit your ecosystem. VESA compatibility is the first checkpoint, but not the last. You also need to think about total monitor weight, maximum screen size, stand width, and how it will sit relative to your cockpit.
For example, an ultrawide may fit physically but leave limited room for a button box or dashboard mount. Triple monitors may fit on paper yet require more side clearance than your room allows. If you are using a direct drive base, the front profile of the stand needs to work with the motor housing and shaft position. Little mismatches like these are what turn a high-end build into a compromise.
That is why modularity matters so much in a premium ecosystem. A serious sim rig should let you expand without fighting your own hardware. Adjustable width, height, and arm positioning give you more control now and more flexibility later.
Building a cleaner, more immersive setup
Cable management sounds minor until you are climbing in and out of the cockpit every day. Loose power bricks, dangling display leads, and exposed USB runs make a premium build feel unfinished. They can also create accidental tension on your monitor alignment over time.
Route cables with enough slack for final adjustment, but not so much that they swing or snag. Keep power and signal paths organized and secure them to the structure rather than letting them hang behind the panels. If you stream or record, a tidy layout also makes your content look sharper on camera.
Lighting and monitor bezel placement affect immersion more than many people expect. Dark gaps between panels are normal, but a consistent, tightly aligned bezel line is much less distracting than uneven spacing. The same goes for ambient light. If glare hits one side screen harder than the other, the visual experience feels less cohesive. Your stand setup should support the room, not fight it.
Common setup mistakes that hold rigs back
The biggest mistake is treating monitor placement like desktop gaming. A sim cockpit changes your body position, your steering angle, and how your eyes scan the screen. What felt fine on a desk often feels disconnected in a racing seat.
Another common issue is prioritizing size over geometry. Bigger monitors are exciting, but if they force the screen too high or too far away, the result can feel less realistic than a smaller display mounted correctly. Immersion comes from proportions and placement, not just inches.
The third mistake is underestimating future upgrades. Many enthusiasts start with a single screen and later move to triples, motion, or a more powerful wheelbase. If the stand has no real adjustment range or load capacity, you hit a wall fast. Buying with a long view usually saves money and frustration.
What serious buyers should look for
If you want a setup that feels engineered rather than improvised, look for rigidity, monitor-specific adjustability, and cockpit compatibility first. Those three factors shape the experience every time you drive. Cosmetic design matters, but precision matters more.
A strong sim racing monitor stand setup should support exact height changes, straightforward side-screen alignment, and enough structural confidence for daily use. It should also fit the rest of your ecosystem, from seat position and wheelbase clearance to display size and room footprint. That is how you build a rig that keeps pace with your ambition instead of limiting it.
For enthusiasts moving beyond entry-level gear, this is where premium hardware earns its keep. The best systems feel intentional from the first session. The screens sit where they should, the image stays stable, and the cockpit starts to disappear. That is the point. When the hardware gets out of the way, the track comes to your house.
At GTR Simulator, that performance mindset is built into every serious rig decision. Get the stand right, and the rest of your visual system finally has the foundation it deserves.
If your current setup feels close but not convincing, start with the screen position before chasing another upgrade. A few inches, a better angle, or a more rigid platform can change the whole drive.
Share:
Motion Ready Racing Simulator Cockpit Guide
9 Best Pedals for Sim Racing Rig Upgrades